
Creating a custom endpoint
In addition to the single endpoint, Gato GraphQL also supports custom endpoints, to retrieve and post data for a custom schema (containing only a subset of the available types) and user validation rules, as to deal with the needs from different users and applications.
We can create as many custom endpoints as needed.
For instance, we can create a custom endpoint for:
- Some specific client or user, under
/graphql/my-client/ - A group of users with more access to features (such as PRO users), under
/graphql/pro-users/ - Provide data to our mobile app, under
/graphql/mobile-app/ - Give access to some 3rd-party API, under
/graphql/external-api/ - Others

Executing the custom endpoint in an application
Please follow the instructions on guide Connecting to the GraphQL server from a client.
Accessing all custom endpoints
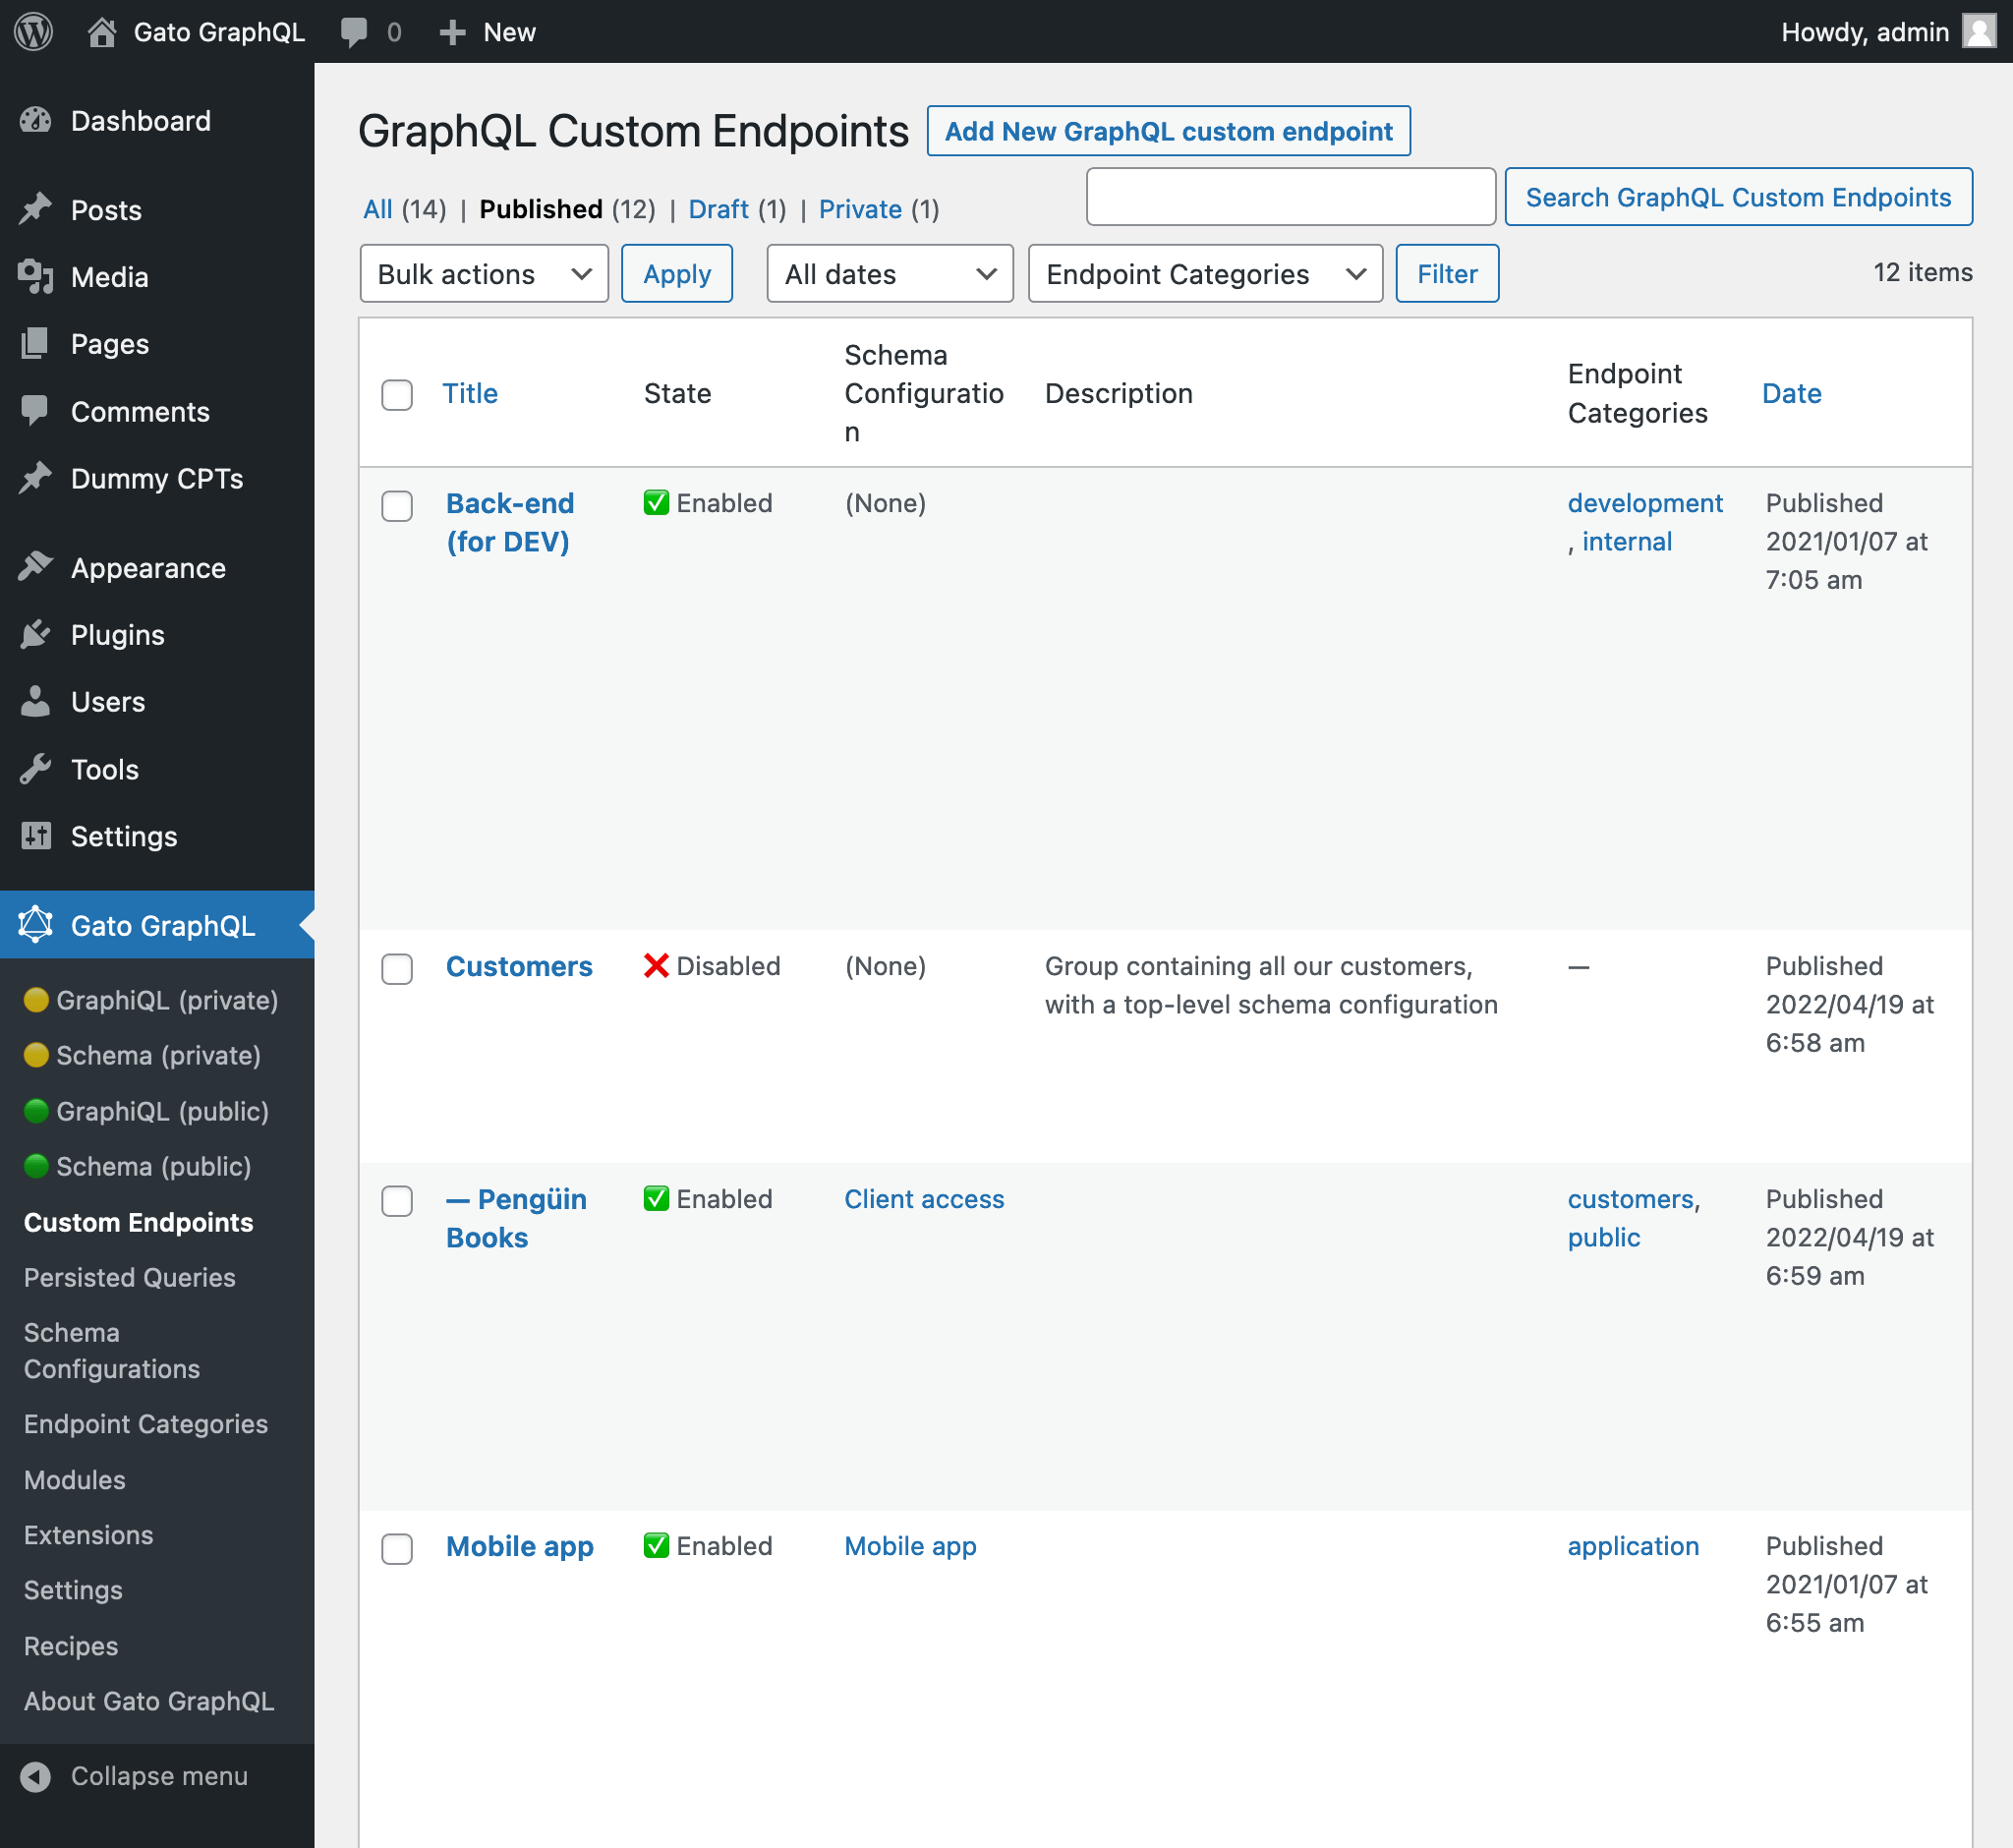
Clicking on "Custom Endpoints" on the plugin's menu, it displays the list of all the created custom endpoints:
Creating a new custom endpoint
Click on button "Add New GraphQL endpoint" to open the WordPress editor:

Give it a title, make sure the permalink is the desired one, select the schema configuration, and adjust the options. When ready, click on the Publish button, and the custom endpoint is created, using the configured permalink as endpoint URL.
Links to the endpoint (and source and clients) are shown on the "Custom Endpoint Overview" sidebar panel:

Schema configuration
Defining what elements the schema contains, and what access will users have to it, is defined in the schema configuration.
So we must create a create a schema configuration, and then select it from the dropdown (or use none, or the default one):

Private endpoints
By setting the status of the Custom Endpoint as private, the endpoint can only be accessed by the admin user. This prevents our data from being unintentionally shared with users who should not have access to the data.
For instance, we can create private Custom Endpoints that help manage the application, such as retrieving data to create reports with our metrics.

Password-protected endpoints
If we create a Custom Endpoint for a specific client, we can now assign a password to it, to provide an additional level of security that only that client will access the endpoint.

When first accessing a password-protected endpoint (whether accessing the endpoint directly, or its GraphiQL or Interactive Schema clients), we encounter a screen requesting the password:

Once the password is provided and validated, only then the user will access the intended endpoint or client:

Creating an endpoint hierarchy
Please read the instructions on creating an API hierarchy.
Disabling the custom endpoint
In the options, set "Enabled" to false to disable the custom endpoint.
This feature can be useful when making the custom endpoint be part of an API hierarchy, to provide a common behavior to its child custom endpoints, but without needing itself be executed.
Describing the custom endpoint
Use the "Excerpt" field, from the Document settings panel, to give a description to the custom endpoint.
Find more information in guide Adding a description to the API.
Endpoint clients
Each custom endpoint has its own set of clients to interact with.
GraphiQL client
Add ?view=graphiql to the endpoint to access its GraphiQL client:

The GraphiQL client can also be opened when editing the Custom Endpoint, under sidebar panel "Custom Endpoint Overview":

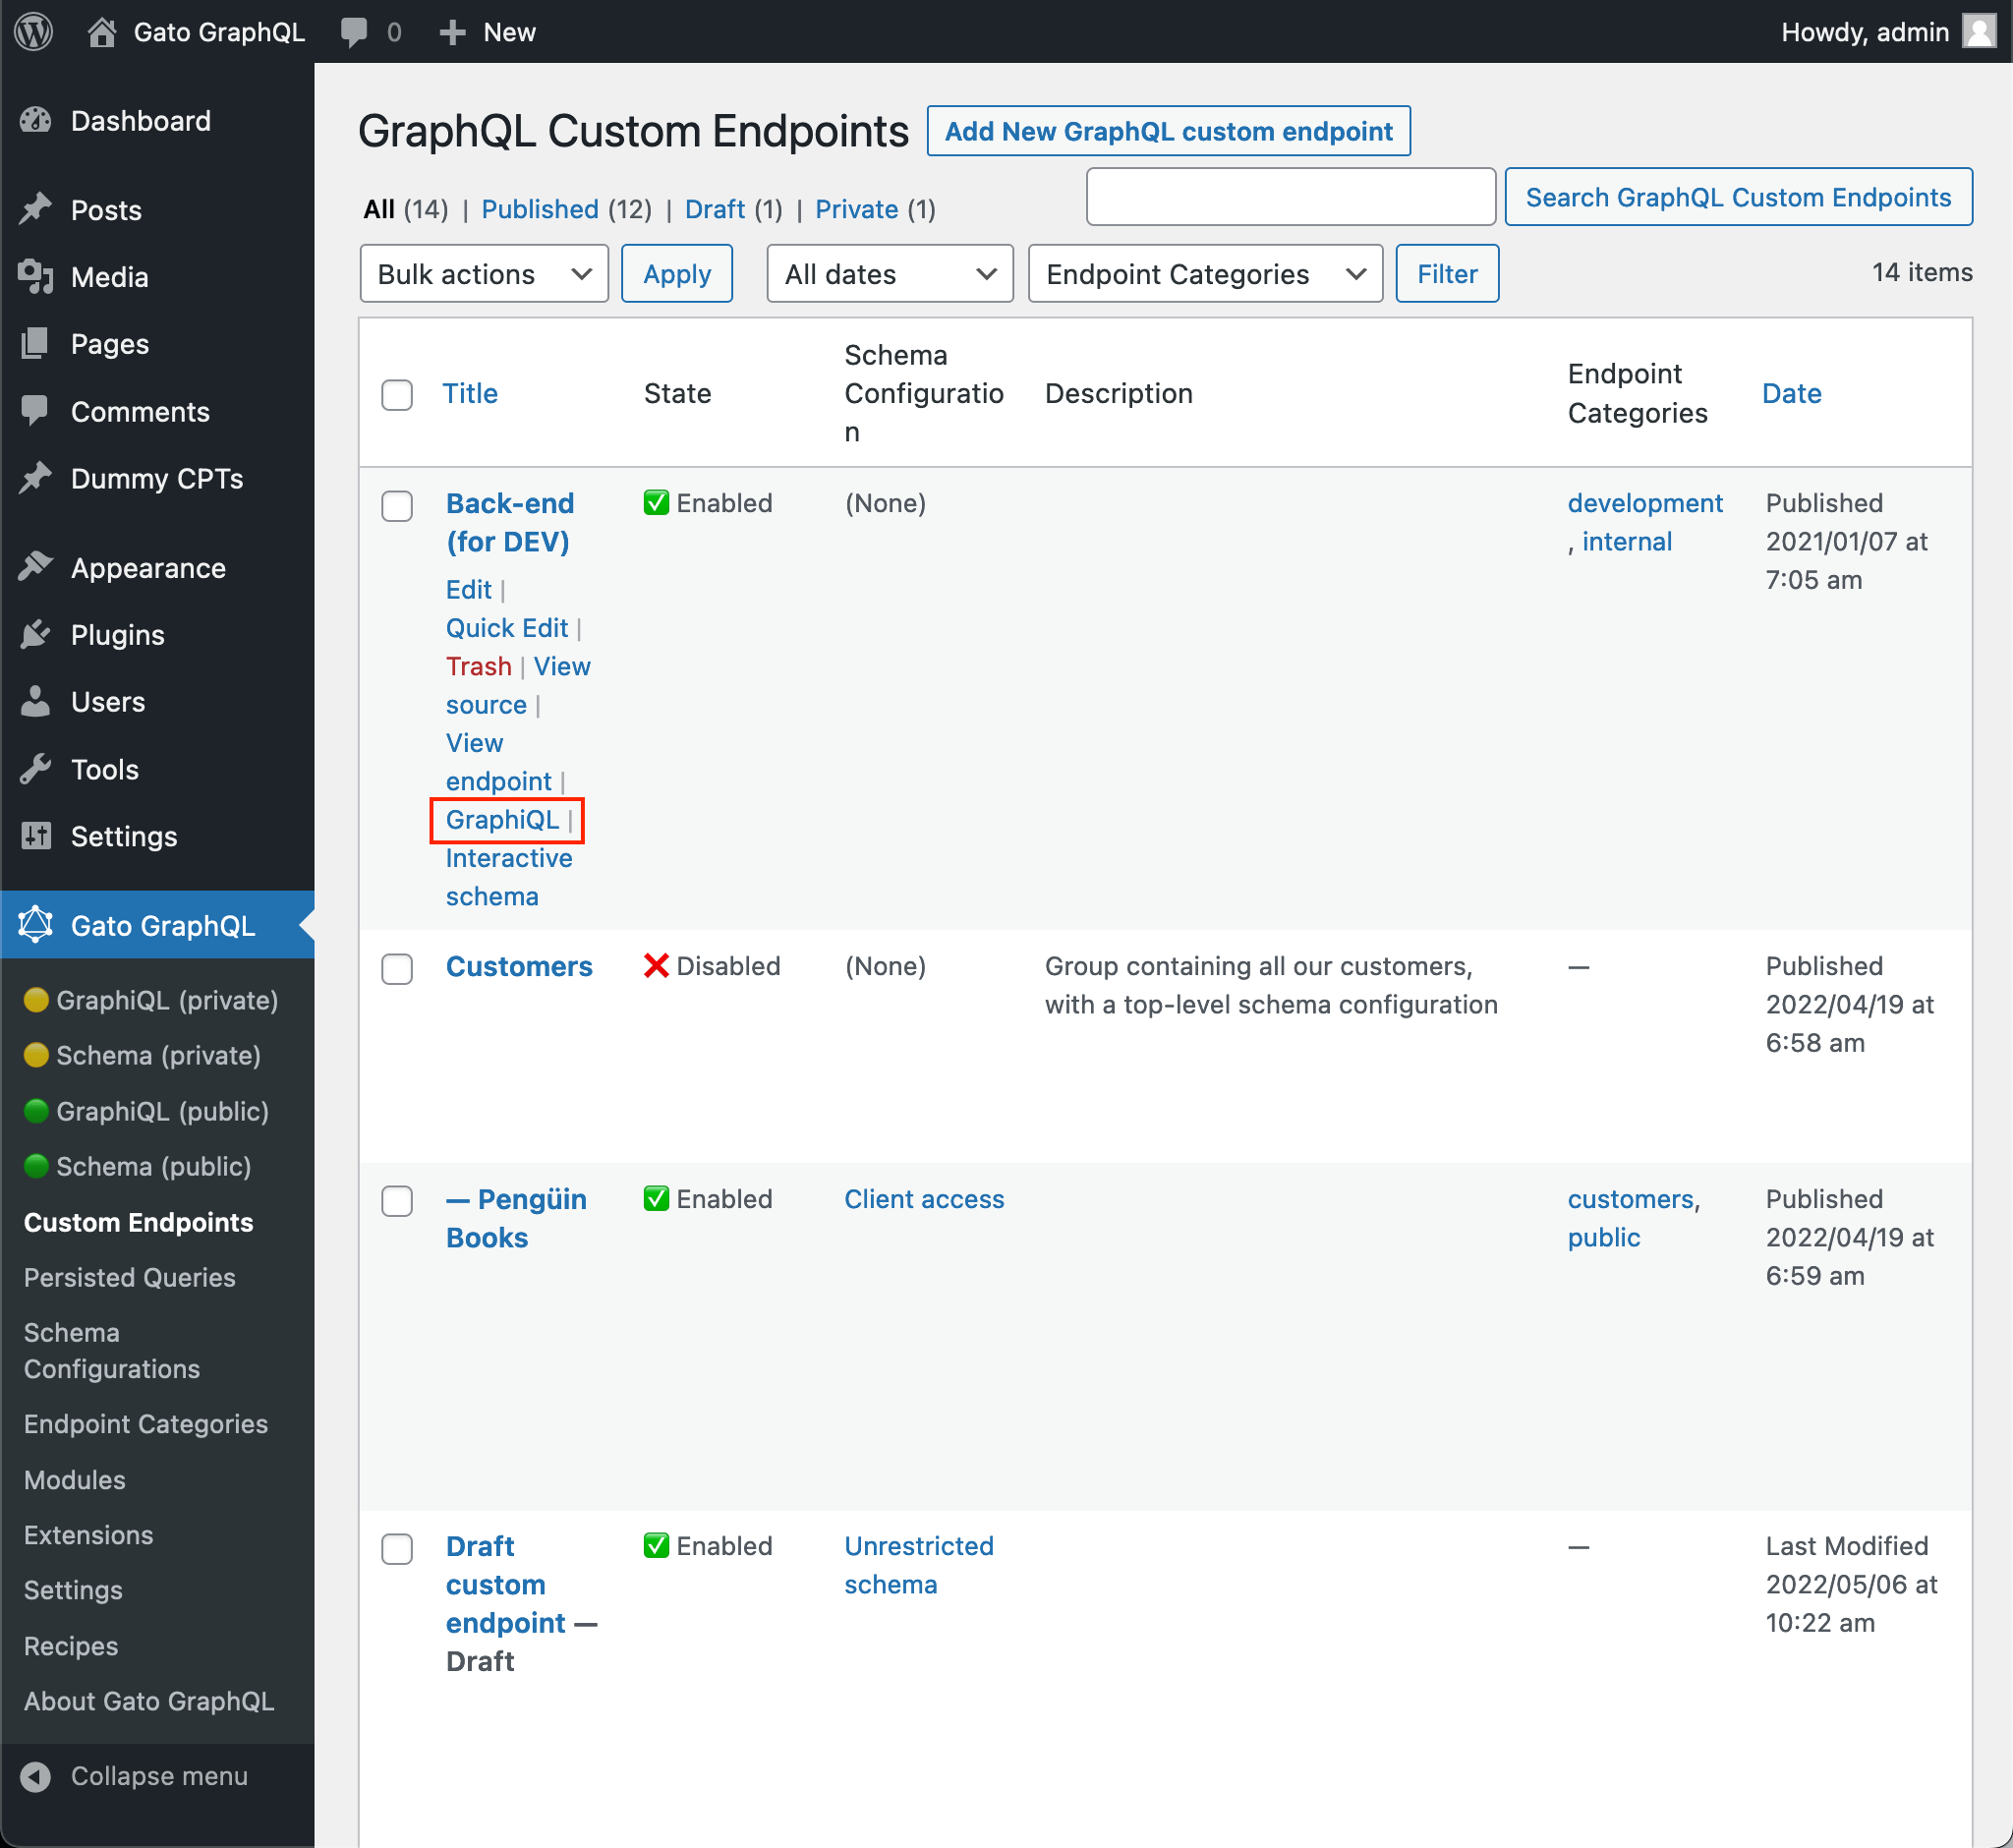
Likewise, the client can be opened from the Custom Endpoints list page, on link "GraphiQL" when hovering on the entry:
To disable the GraphiQL client, set option "Expose GraphiQL client?" to false in the Custom Endpoint editor.
Interactive Schema (Voyager) client
Add ?view=schema to the endpoint to access its Interactive Schema client, to visualize and interact with the endpoint's schema:

The Interactive Schema client can also be opened when editing the Custom Endpoint, under sidebar panel "Custom Endpoint Overview":

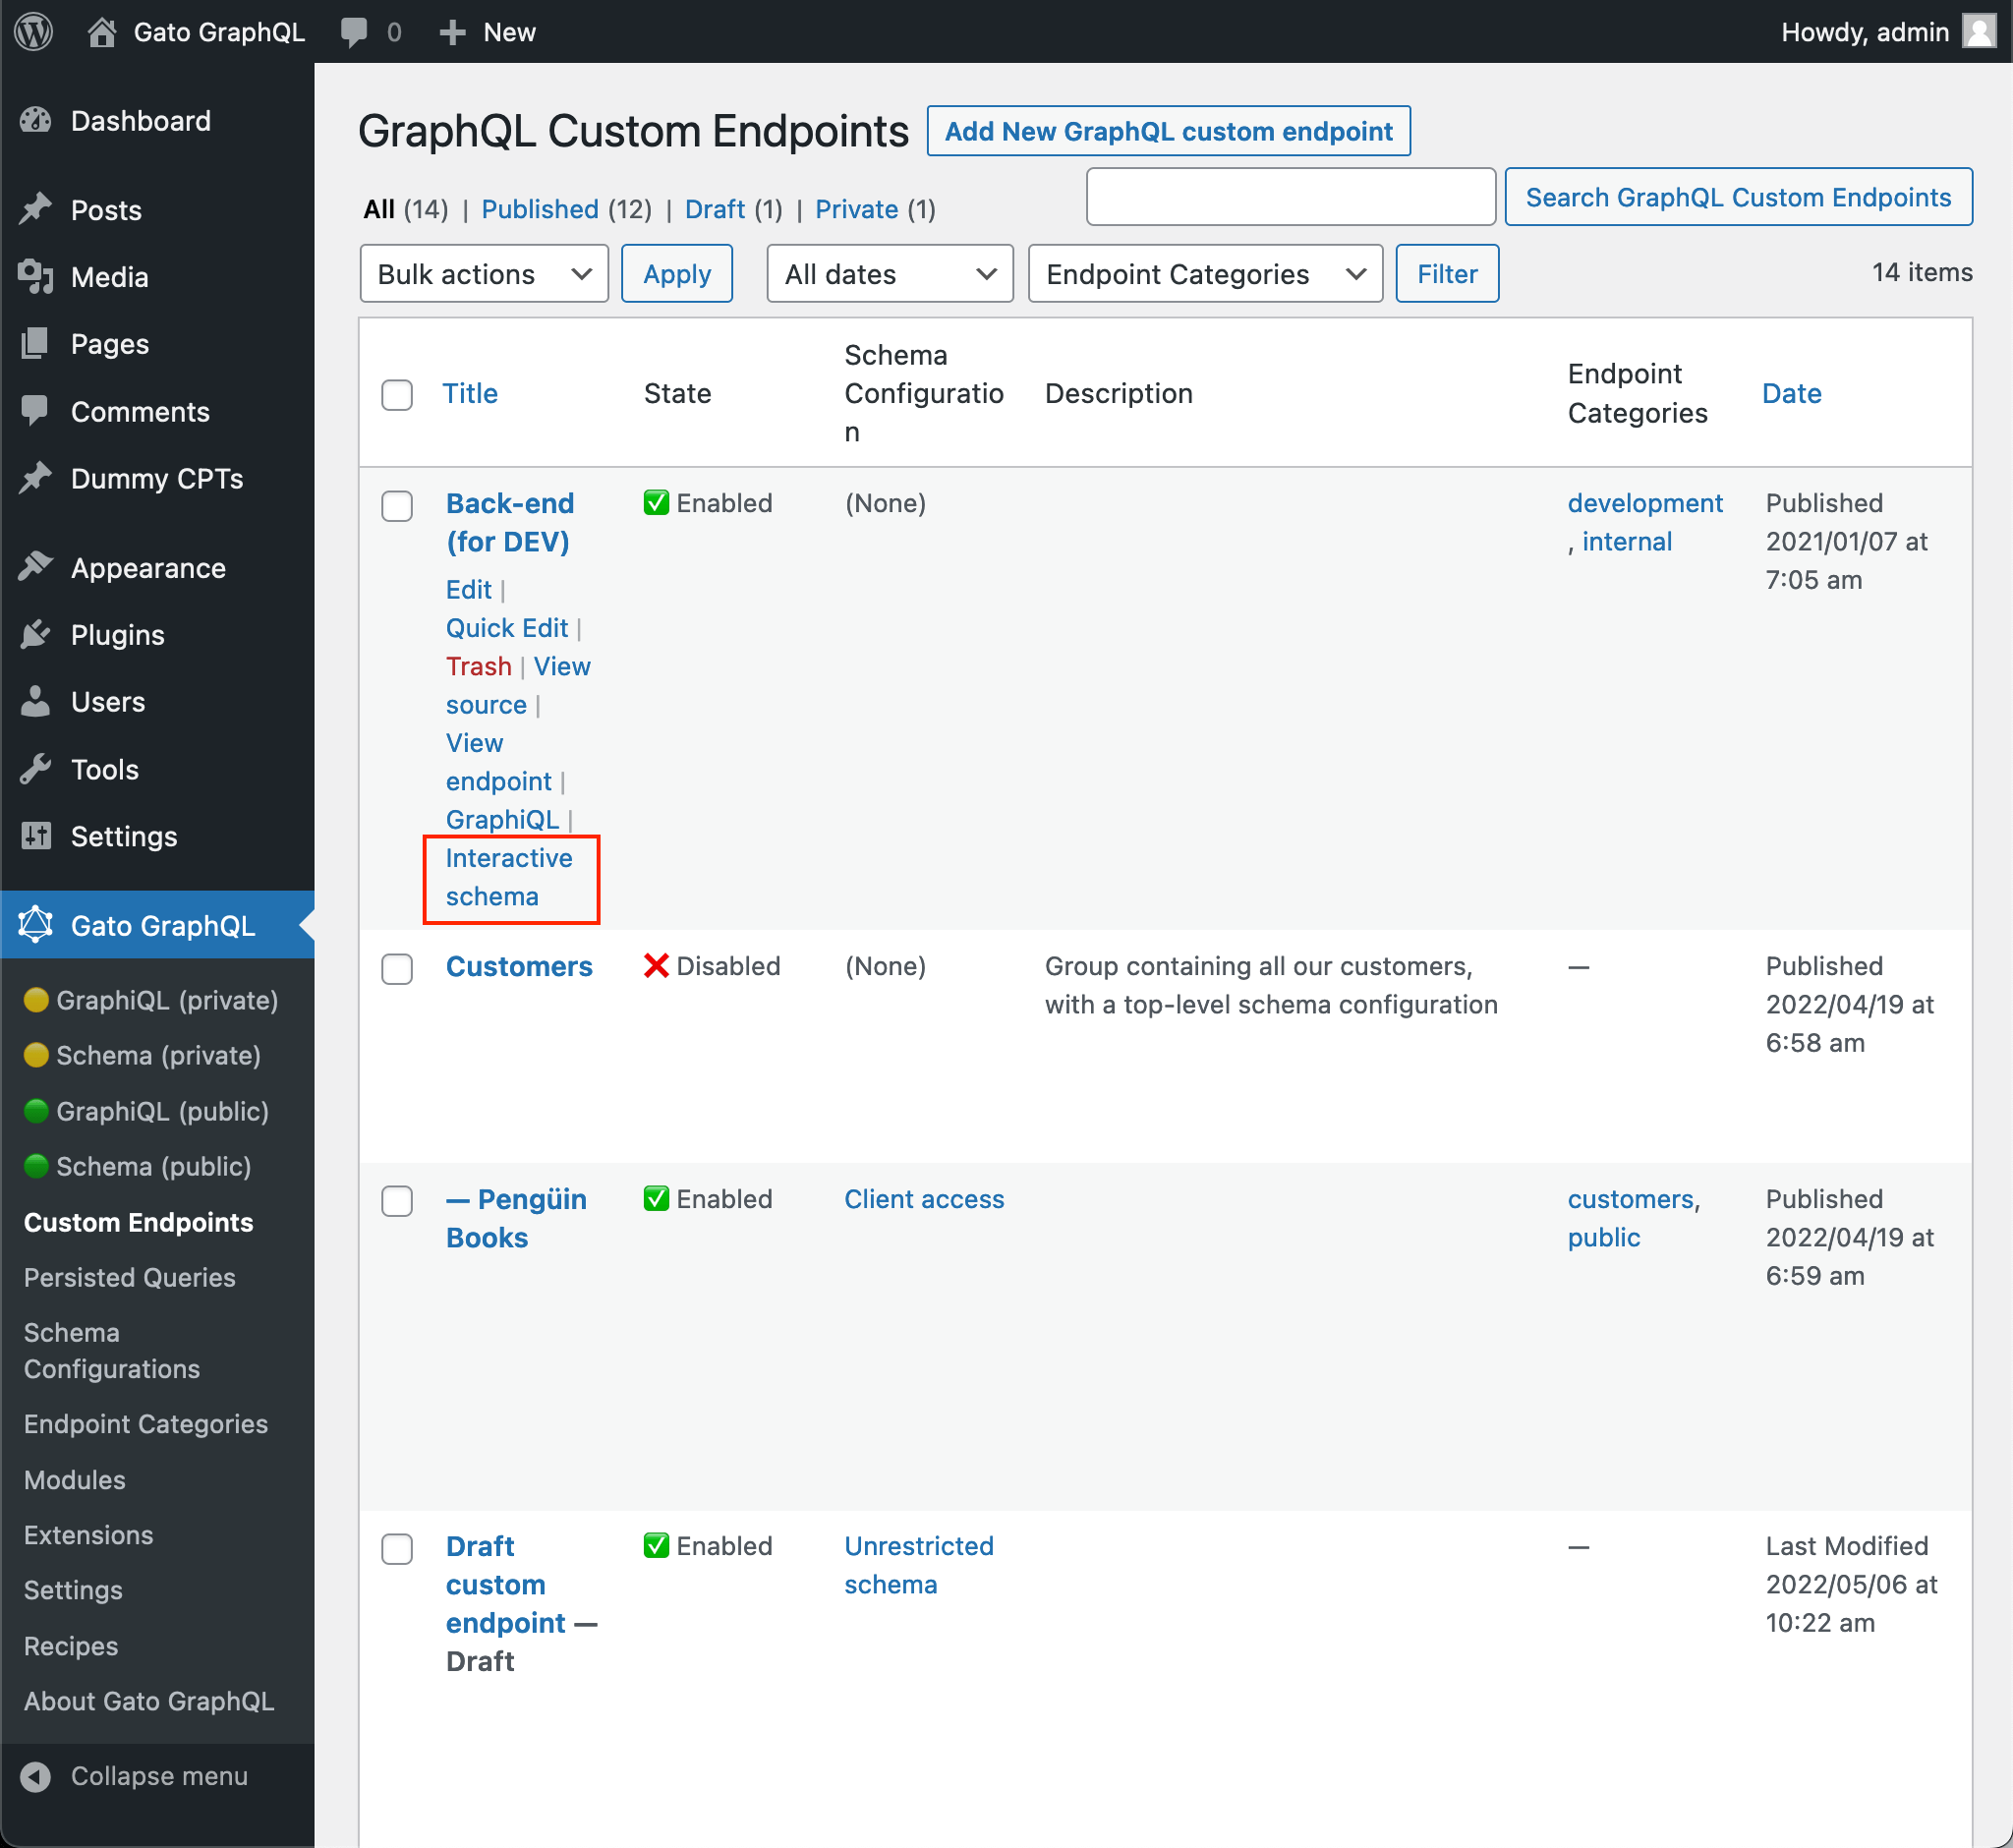
Likewise, the client can be opened from the Custom Endpoints list page, on link "Interactive Schema" when hovering on the entry:
To disable the Interactive Schema client, set option "Expose the Interactive Schema client?" to false in the Custom Endpoint editor.
Testing the endpoint before publishing online
A custom endpoint with status draft or pending is available to the schema editor users only. This gives them the ability to:
- Execute GraphQL queries against it
- Access the endpoint's GraphiQL and Voyager clients
Then, we can create a custom endpoint, assign a Schema Configuration, publish it as draft or pending, and test it (eg: checking that its Access Control rules are appropriate).
Once approved, only then we set its status as publish, making the custom endpoint available to everyone.
Viewing the source
Appending ?view=source to the endpoint, it will show the endpoint's configuration (as long as the user is logged-in and the user role has access to it):

Configuration in the WordPress editor
These are the inputs in the body of the editor:
| Input | Description |
|---|---|
| Title | Custom endpoint's title |
| Schema configuration | From the dropdown, select the schema configuration that applies to the custom endpoint, or one of these options:
|
| Options | Customize the behavior of the custom endpoint:
|
These are the inputs in the Document settings:
| Input | Description |
|---|---|
| Permalink | The endpoint under which the custom endpoint will be available |
| Categories | Can categorize the custom endpoint. Eg: mobile, app, etc |
| Excerpt | Provide a description for the custom endpoint. This input is available when module "Excerpt as Description" is enabled |
| Page attributes | Select a parent custom endpoint. This input is available when module "API Hierarchy" is enabled |