
Adding HTTP caching [PRO]
When queries are executed against the GraphQL server using GET (instead of the more traditional POST method), the GraphQL response can be cached on the client-side or intermediate stages between the client and the server (such as a CDN), by relying on standard HTTP caching.
This works naturally for persisted queries, and for the single endpoint and custom endpoints it can work by appending param ?query={ GraphQL query } to the endpoint.
The configuration is created through a cache control list, and delivered to the endpoint via the schema configuration.
Executing the endpoint via GET
Persisted queries are already suitable to be executed via GET, as they store the GraphQL query in the server (i.e. it must not be provided in the body of the request).
For the single endpoint and custom endpoints, though, the query must be provided under param ?query=... attached to the endpoint URL.
For instance, the following GraphQL query:
{
posts {
id
title
url
author {
id
name
url
}
}
}...can be executed via GET against the single endpoint like this:
https://mysite.com/graphql/?query={ posts { id title url author { id name url } } }
Automatic max age calculation
The response's max-age value is automatically calculated from the access control lists assigned to the endpoint (via the schema configuration).
This value is the lowest max-age value from all the fields and directives in the requested query, or no-store if either:
- any mutation is executed
- any field or directive has
max-agewith value0 - an access control rule must check the user state for any field or directive (in which case, the response is specific to the user, so it cannot be cached)
Default max-age
Fields which are not given any specific max-age will use the default value, defined in the Schema Configuration:

If not set, the default max-age value defined in the Settings page, under the "Cache Control" tab, will be used. This value, which is 86400 seconds, can be modified in the Settings.
Example
Let's say we have the following configuration of max-age values for fields of type User:
name=>600url=>30
Then, the response to this query will have the max-age value set to 86400 (because neither displayName or email have been configured, so they use the default value):
query {
users {
displayName
email
}
}The response to this query will have the max-age value set to 30 (corresponding to url, which is the lowest value from all configured fields):
query {
user(by: {id: 1}) {
name
url
}
}The response to this query will have the max-age value set to no-store (because field me requires user state):
query {
me {
name
url
}
}The response to this query will have the max-age value set to no-store (because it executes a mutation):
mutation {
createPost {
id
}
}Accessing all cache control lists
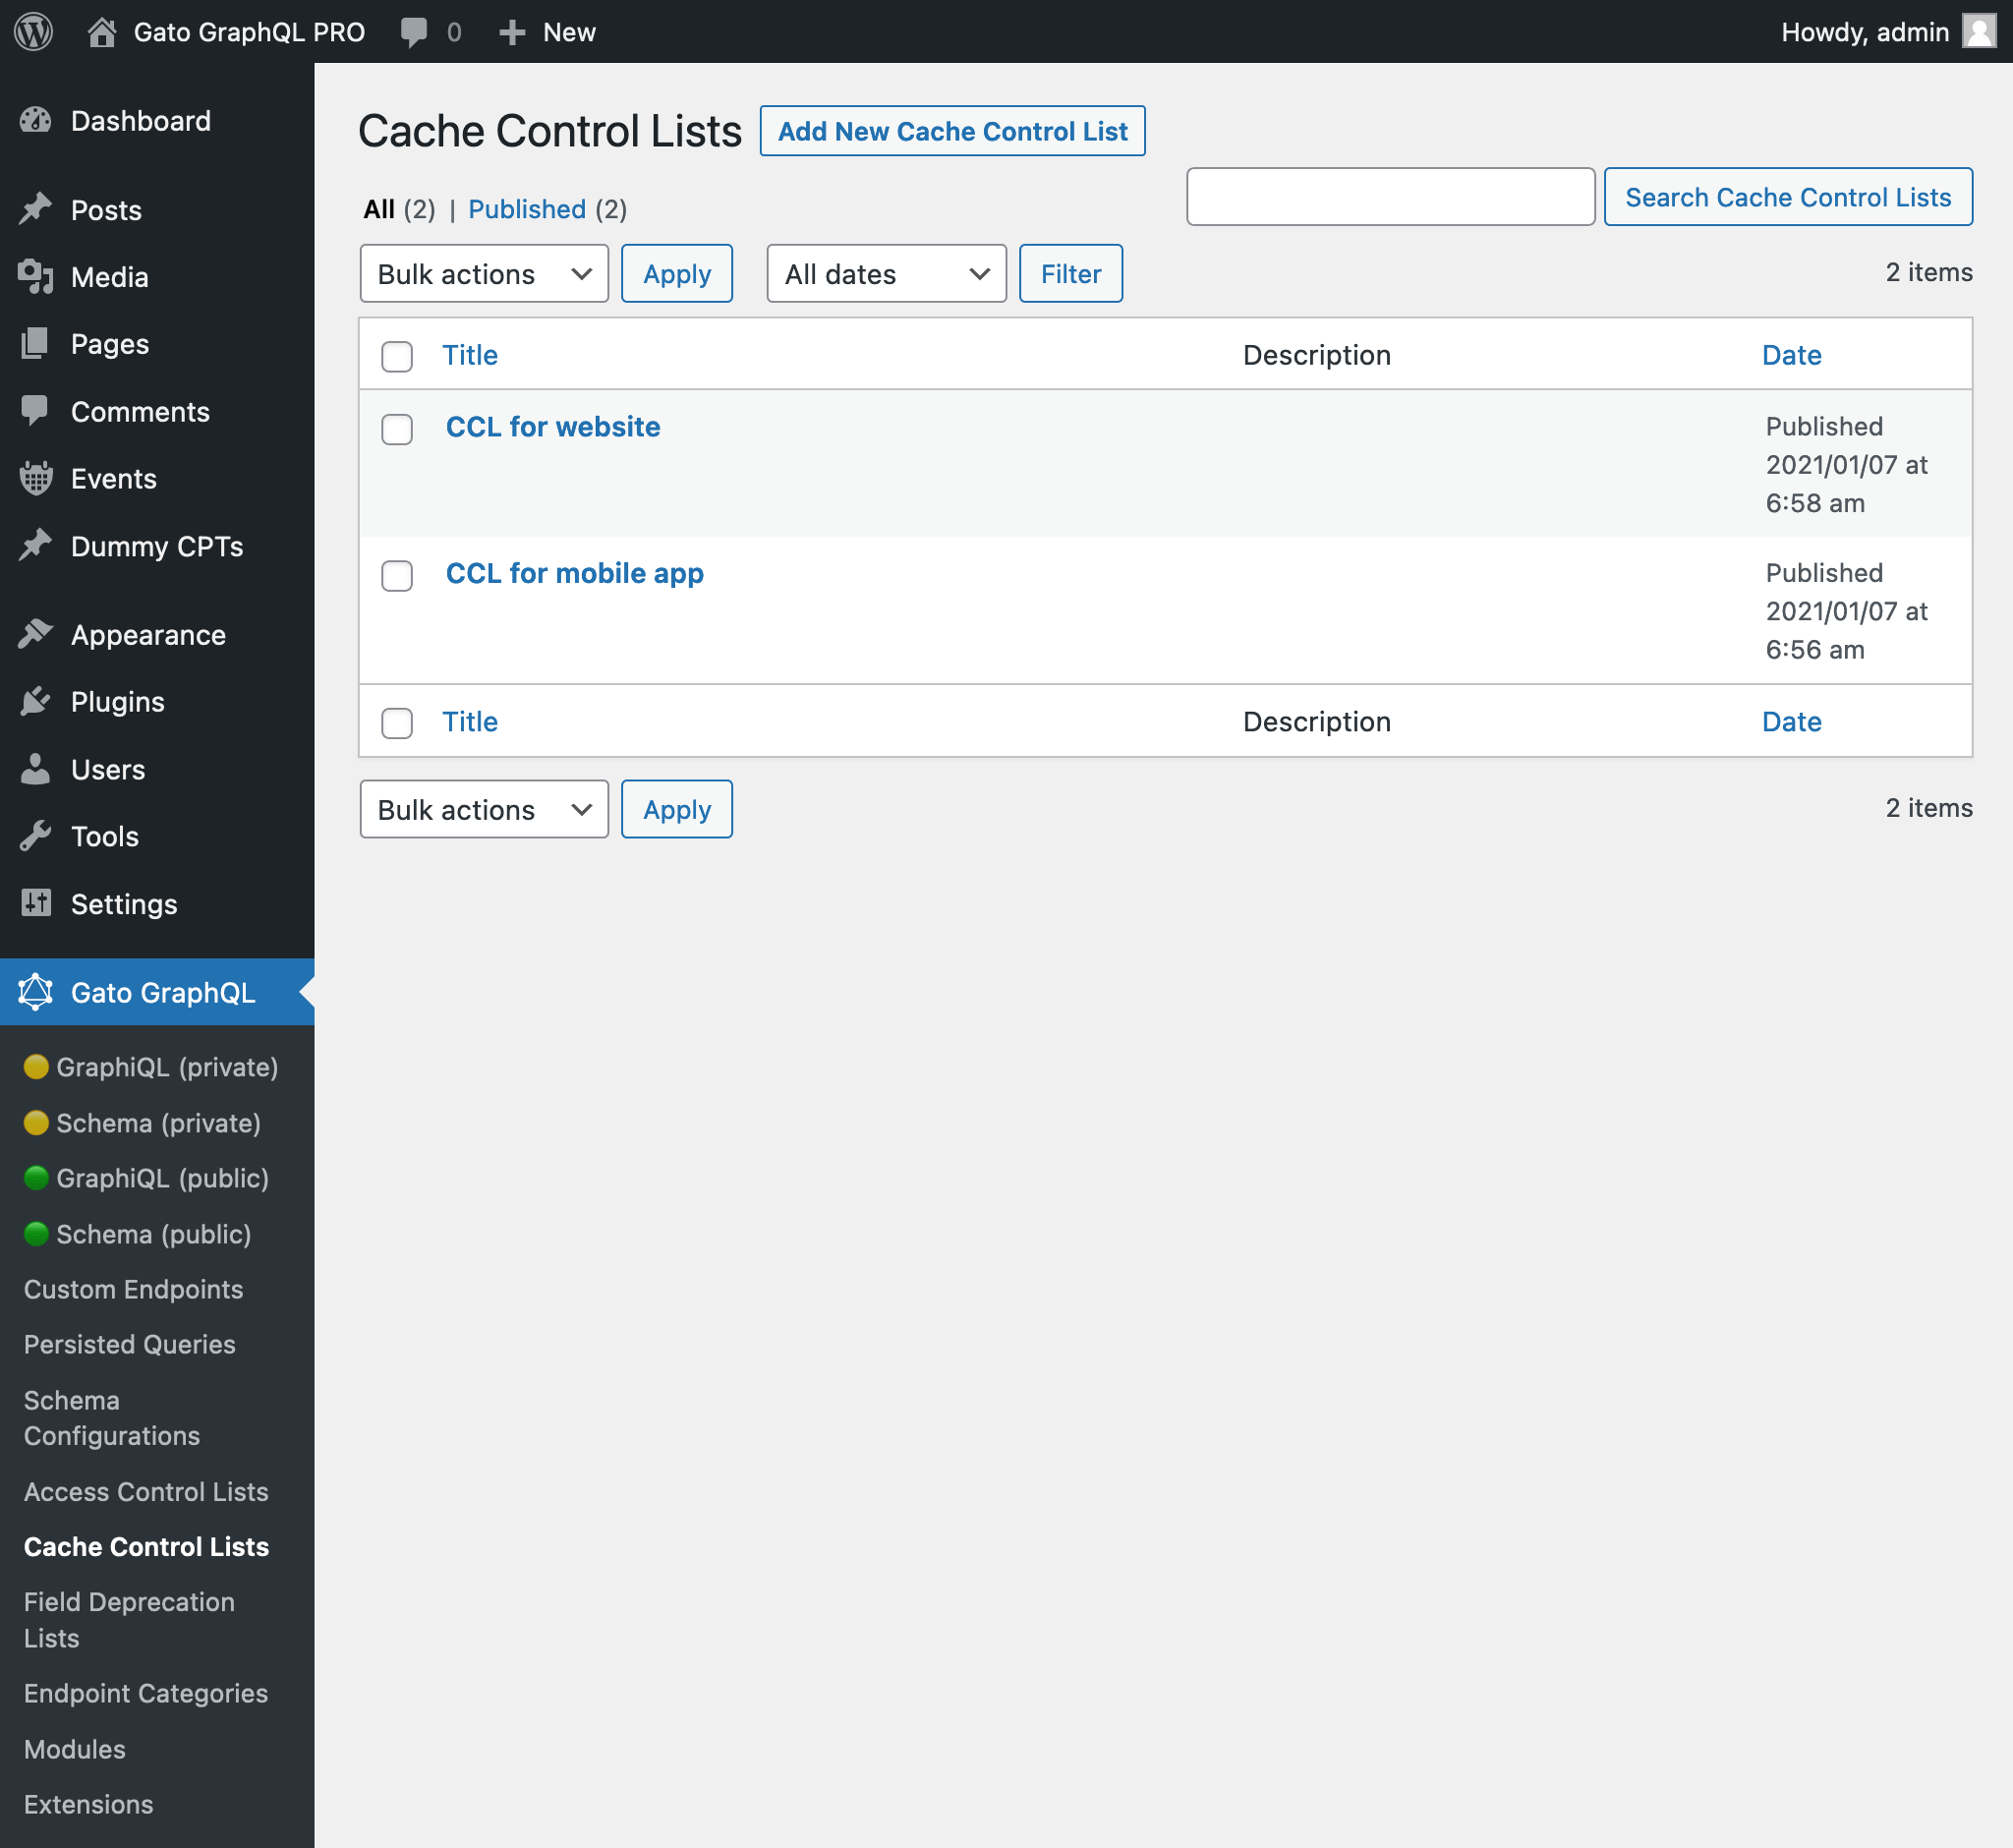
Clicking on "Cache Control Lists" on the plugin's menu, it displays the list of all the created cache control lists:
Creating a new cache control list
Click on button "Add New Cache Control List" to open the WordPress editor:

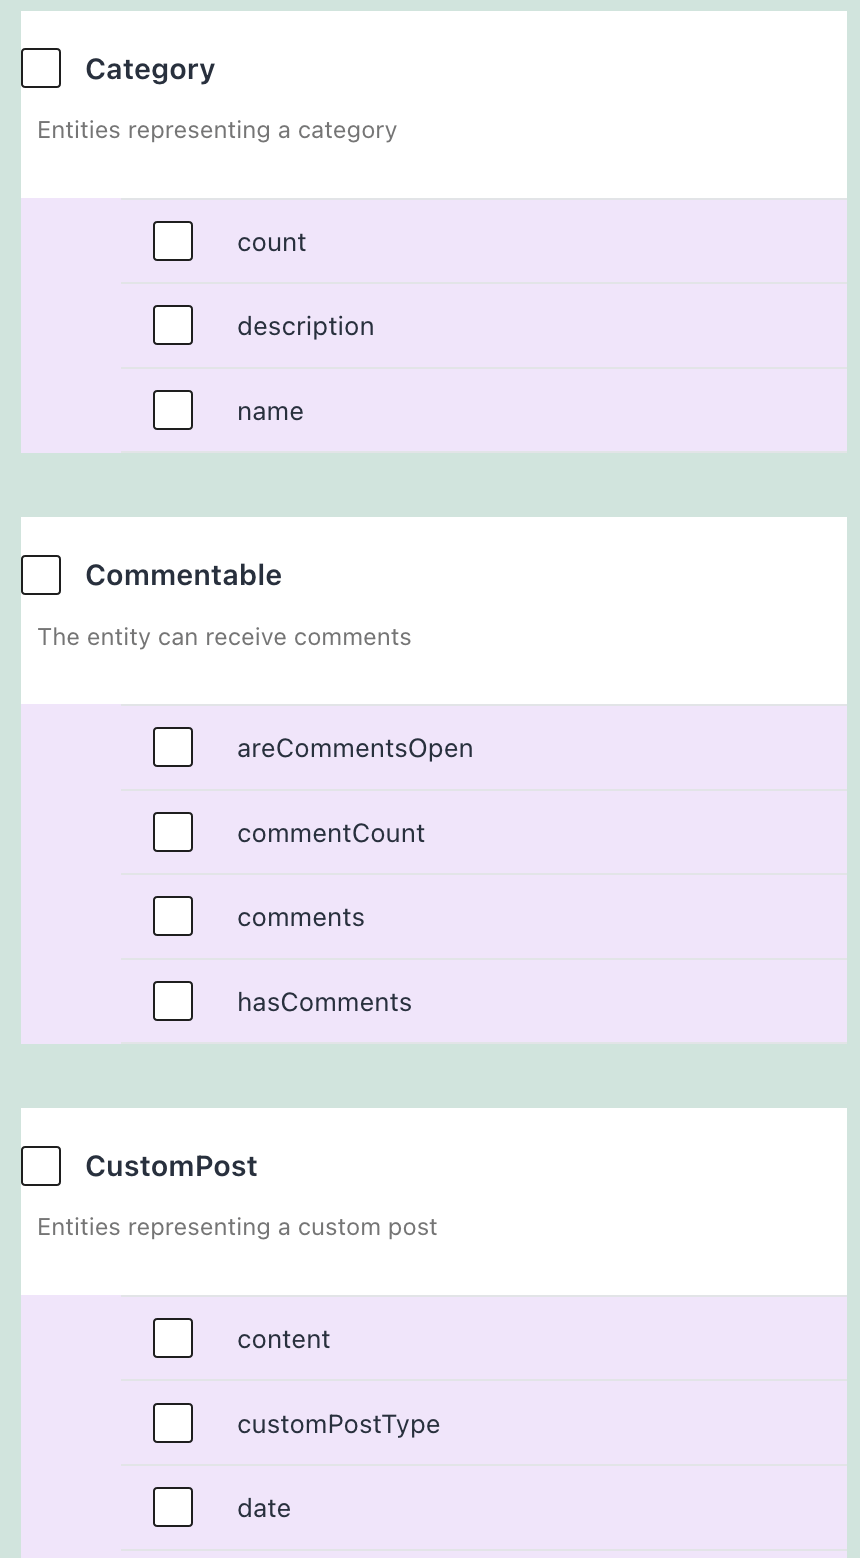
Give the cache control list a title, add entries with fields and directives, and configure the max-age value for them:

When ready, click on the Publish button. Then, the new cache control list becomes available to the schema configuration.
Cache Control entries
Every Cache Control List contains one or many entries, each of them with the following elements:
- The fields to configure caching for
- The directives to configure caching for
- The
max-agevalue for them

Selecting fields from interfaces
In addition to fields from types, we can also select fields from interfaces. In this case, the max-age value is applied when querying those fields from any type implementing the interface.
Describing the cache control list
Use the "Excerpt" field, from the Document settings panel, to give a description to the cache control list.
Find more information in guide Adding a description to the API.
Using the cache control list
After creating the cache control list, we can have the Custom Endpoint or Persisted Query use it by editing the corresponding Schema Configuration, and selecting the ACL from the list under block "Cache Control Lists".

If not customizing the configuration, the default Cache Control Lists defined on the Settings page, under tab "Cache Control", will be used:
